
Find Penner’s public product manuals, bathing-system information and transfer references in one place. Start with the manual for your exact product model and configuration.
In this library: Manuals first | Room-planning references | Healthcare baths | Residential baths | Transfers | Parts identification
Start with the manual
Use the Manuals section for installation, operating and maintenance documents. Match the model, entry direction, reservoir, transfer type and document revision to your equipment. The parts links below open existing public PDFs; installation and operating instructions are available in the main Manuals section.
For replacement parts, start with the maintenance or parts manual and its illustrated parts list. Keep the full part number, including letters and suffixes. If a drawing or part does not match your equipment, contact Penner before ordering.
References for your room-planning software
Use these public pictures, drawings and file catalogs in the software you choose on your own device. Start with your exact tub model, door direction, reservoir and transfer configuration.
Appearance and installation fit: Pictures and imported models support visual planning. Confirm dimensions, door and transfer movement, caregiver space, service access and utilities using the applicable installation documents with Penner and your installer. A picture or 3D model alone does not validate installation clearance.
Available formats: PDF drawings and JPG/PNG pictures are linked below. Seven model pages list DWG and SAT CAD files; some files are packaged as ZIP downloads. No public STL, OBJ, glTF or GLB downloads have been verified. Check your software’s import support and units, then compare an imported model with the dimensioned drawing. File sizes and import compatibility have not been compared.
Choose a model: Contour · Cascade · Premier / Elite · Alcove · Comfort · Pacific · Superior · Dream Spa · TheraSpa
Healthcare bathing systems
These summaries identify the main configuration choices. Use the selected model’s installation drawing for dimensions, utilities and working clearances, and confirm the complete tub-and-transfer combination with Penner.
Contour
Offset bathing-system layout with a standard reservoir. Configurations include left- or right-side entry and end-opening doors. Listed transfer choices include matching side-entry or end-opening mobile transfers, plus left- or right-side built-in post transfers, with scale options.
Contour model and configuration details | Contour parts and assemblies — 360748C (PDF)
Contour planning references
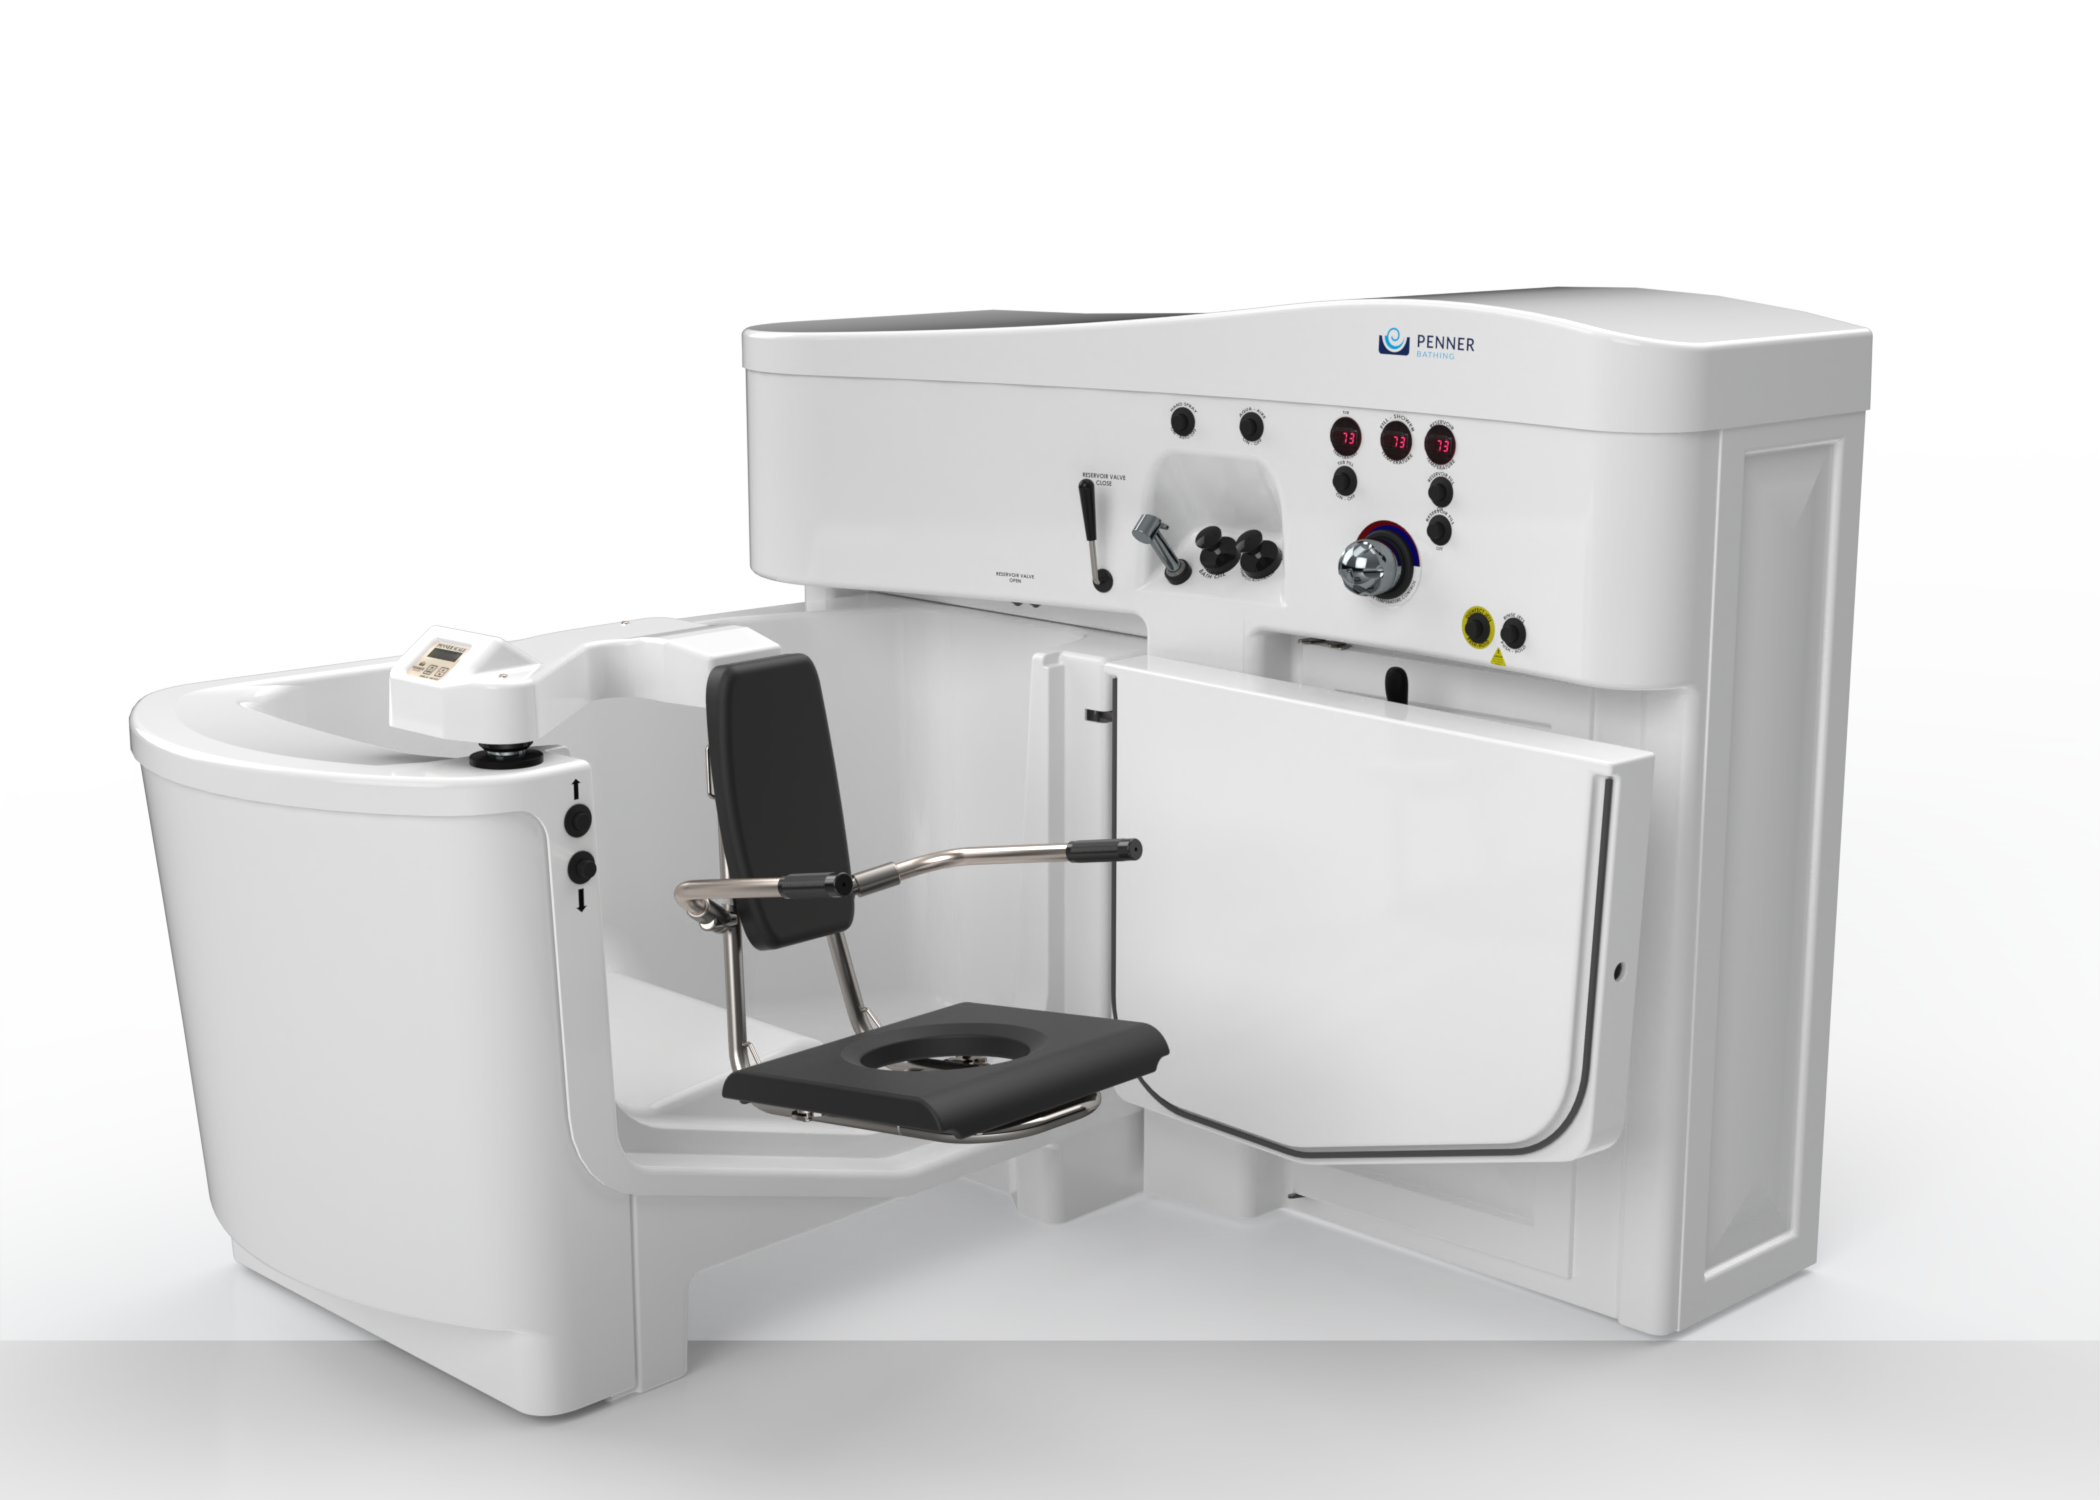
Contour pictures and configuration details
The linked layout is right-side entry. For end-opening, left-side or post-transfer layouts, choose the matching drawing on the model page.
Public CAD catalog — DWG and SAT. Open the Architects tab and select the exact configuration.
Cascade
Side-entry and end-opening configurations, with or without a reservoir. Documents cover standard and wide arrangements. Mobile and built-in post transfers are listed, with scale options. Match the transfer to the exact entry, width and reservoir arrangement; a wide configuration needs its own compatibility check.
Cascade model and configuration details | Cascade and reservoir parts — 360748 (PDF)
Cascade planning references

Cascade pictures and configuration details
Detailed dimensions cover standard side entry. Select separate wide, reservoir, end-opening or post-transfer drawings on the model page.
Public CAD catalog — DWG and SAT; wide SAT choices are ZIP downloads. Open the Architects tab and select the exact configuration.
Premier and Premier Elite
Both families offer side-entry and end-opening arrangements, a reservoir, concealed controls and a TV cabinet. Listed transfer choices include matching mobile transfers and built-in side post transfers, with scale options. Identify whether the system is Premier or Premier Elite when selecting drawings and parts.
Premier details | Premier Elite details | Premier / Premier Elite parts — 360748P (PDF)
Premier planning references

Premier pictures and configuration details
The linked layout is Premier right-side mobile entry. Other entry and post-transfer drawings are on the model page.
Public CAD catalog — DWG-labeled ZIP downloads and SAT. Open the Architects tab and select the exact configuration.
Premier Elite planning references

Premier Elite pictures and configuration details
Use Premier Elite drawings for the selected entry and transfer arrangement; do not substitute a Premier layout.
Public CAD catalog — DWG and SAT. Open the Architects tab and select the exact configuration.
Alcove
Low-threshold bath with a right-hand door and no reservoir. Public drawings cover alcove, island and side-wall arrangements. Transfer compatibility must be reviewed for the equipment and room being used; no specific transfer model is assigned here.
Alcove model and configuration details | Alcove parts and assemblies — 360748A (PDF)
Alcove planning references

Alcove pictures and configuration details
Check the alcove, island or side-wall installation arrangement. Confirm any lift or transfer pairing with Penner.
Public CAD catalog — DWG and SAT. Open the Architects tab and select the exact configuration.
Comfort
Reclining bath with a left-hand door, low threshold and enclosed cabinet. The listed configuration has no reservoir. Confirm transfer compatibility with Penner for the selected equipment; do not infer a pairing from another tub family.
Comfort model and configuration details | Comfort parts and assemblies — 560748 (PDF)
Comfort planning references

Comfort pictures and configuration details
Include the reclined position and door swing. Confirm any lift or transfer pairing with Penner.
Public CAD catalog — DWG and SAT. Open the Architects tab and select the exact configuration.
Pacific
Height-adjustable, door-free bath with auto-fill and no reservoir. Its listed transfer options are the Pacific mobile chair and Pacific mobile stretcher, each with a scale option. Standard and extended bath drawings are available; use the drawing for the installed configuration.
Pacific model and configuration details | Pacific parts and service — 390748 (PDF)
Pacific planning references

Pacific pictures and configuration details
- Pacific Recumbent Standard Spa Drawing (PDF)
- Pacific Recumbent Extended Spa Drawing (PDF)
- Pacific Rough-In (PDF)
Choose standard or extended tub length and allow for height adjustment and the selected Pacific chair or stretcher.
Public CAD catalog — DWG and SAT. Open the Architects tab and select the exact configuration.
Superior
Door-free bath with auto-fill and no reservoir. Listed transfers are Superior right-side, left-side and end-entry mobile units, with scale options. Use Superior-specific transfer references rather than assuming Cascade or Pacific equipment is interchangeable.
Superior model and configuration details | Superior parts and assemblies — 350748 (PDF)
Superior planning references

Superior pictures and configuration details
Installation manual 350745 includes rough-in figures on printed pages 5–6. Use Superior-specific side/end mobile transfer references.
No public CAD download verified for this model. Ask Penner for an approved file if your software needs one.
Healthcare configuration notes
- PennAire microbubbles are not offered on medical/healthcare tubs.
- Current medical-spa configurations use the Rada 320 mixing valve except Minnesota configurations. Confirm the installed valve and applicable parts before service, particularly on older equipment or Minnesota configurations.
Residential walk-in baths
Dream Spa
Residential walk-in bath with a right-side swing-out door, heated seat/back/air and handheld shower. Dream is white only; an image-wrap option is available for Dream only. PennAire microbubbles are available as a residential option. The product listing does not specify an integrated transfer.
Dream Spa details | Dream parts — 760748 (PDF)
Dream Spa planning references

Dream Spa pictures and configuration details
Match the 760010-1 configuration and floor/wall drain arrangement. Current Dream finish is white; image wrap is a Dream-only option.
No public CAD download verified for this model. Ask Penner for an approved file if your software needs one.
TheraSpa
Residential walk-in bath with a swing-out door, heated seat/back/air and handheld shower. Its outside footprint is smaller than Dream’s; check the installation drawing for room fit. TheraSpa is white only and does not offer the Dream image-wrap option. PennAire microbubbles are available as a residential option.
TheraSpa details | TheraSpa parts — 860748 (PDF)
TheraSpa planning references

TheraSpa pictures and configuration details
Check end-wall or side-wall placement, door swing and the chosen drain route. Current TheraSpa finish is white.
No public CAD download verified for this model. Ask Penner for an approved file if your software needs one.
Transfer references
Match the tub family, entry direction, chair or stretcher, base, scale and equipment rating. An entry direction or similar model number alone does not establish compatibility. Built-in post transfers are a separate configuration from mobile transfers.
Transfer pictures and configuration catalog. The separate patient-lift catalog is a general reference; it does not establish compatibility with a particular bath.
Mobile side-entry and end-opening references
The public transfer catalog lists these complete transfer model numbers. They are equipment identifiers, not individual replacement-part numbers.
- Right side: 382000-1; with scale, 383000-1.
- Left side: 382000-1L; with scale, 383000-1L.
- Right end-opening: 382010-1; with scale, 383010-1.
- Left end-opening: 382010-1L; with scale, 383010-1L.
- Bariatric right-side: 382500-1; with scale, 383500-1. Confirm the compatible bath and complete system rating.
Pacific and Superior references
- Pacific chair: 393000-1; with scale, 394000-1.
- Pacific stretcher: 391000-1; with scale, 392000-1.
- Superior: 384000-1, 385000-1 and 386000-1; scale versions 387000-1, 388000-1 and 389000-1. Match the exact side/end arrangement in the transfer parts manual.
Transfer safe operation — 380745 Rev. I (PDF) | Transfer parts and service — 380748 Rev. K (PDF)
Check the models covered by each manual: the linked safe-operation document lists the 382/383 series. For Superior or Pacific operating instructions, request the document for that exact transfer rather than assuming every model shares the same procedure.
Identify the correct replacement part
- Identify the equipment. Record the tub and transfer model, serial number and configuration from the equipment labels.
- Open the matching manual. Find the relevant assembly illustration, item callout and parts-list row. Check revision and any equipment-date notes.
- Separate assembly and component numbers. A model number identifies the equipment. An assembly number or assembly prefix groups components. The individual replacement number must come from the applicable parts list; do not order every component under the group’s prefix.
- Confirm the full number. Include all prefixes, letters and suffixes, description and quantity when contacting Penner. Confirm substitutions or retrofit requirements before ordering.
For example, transfer manual 380748 Rev. K lists 380355 as a 3-inch caster. If that number is used to group the caster assembly, it does not establish separate replacement numbers for every component inside it. Use the manual’s listed replacement assembly or ask Penner to identify a separately serviceable part.
Transfer components can vary by model, scale and production date. The manual includes separate chair, base, caster and cover tables, plus retrofit notes. Do not substitute a similar-looking component without checking the applicable row.
More resources
- All product manuals — Installation, operation, maintenance and service bulletins.
- Product and support videos — Product, training and maintenance video collections.
- Contact Penner — Help identifying equipment, compatible transfers, manuals or replacement parts. Call 800-732-0717.